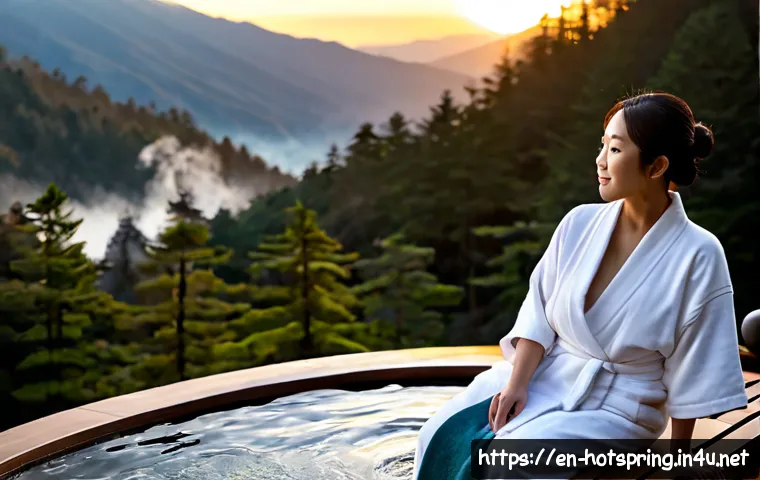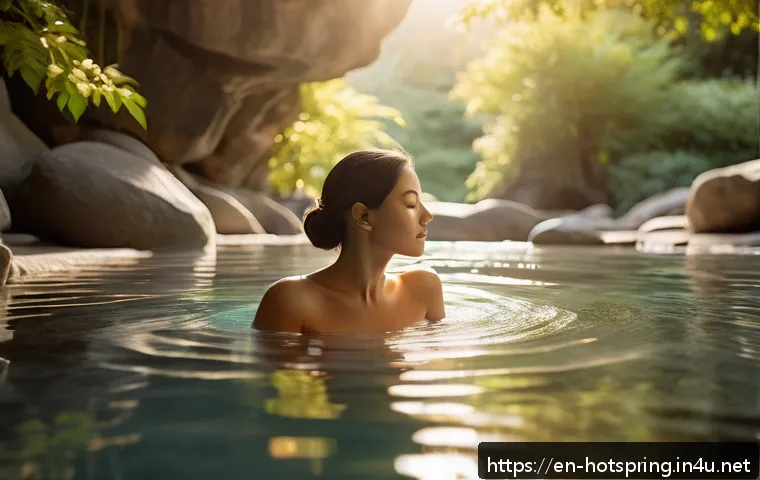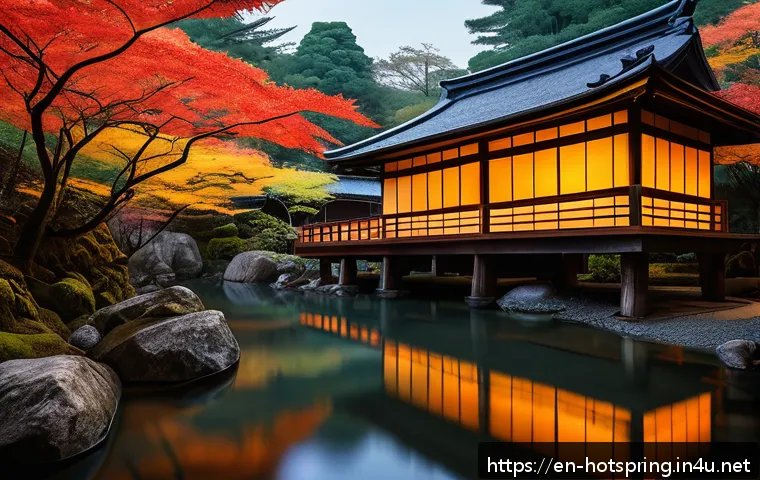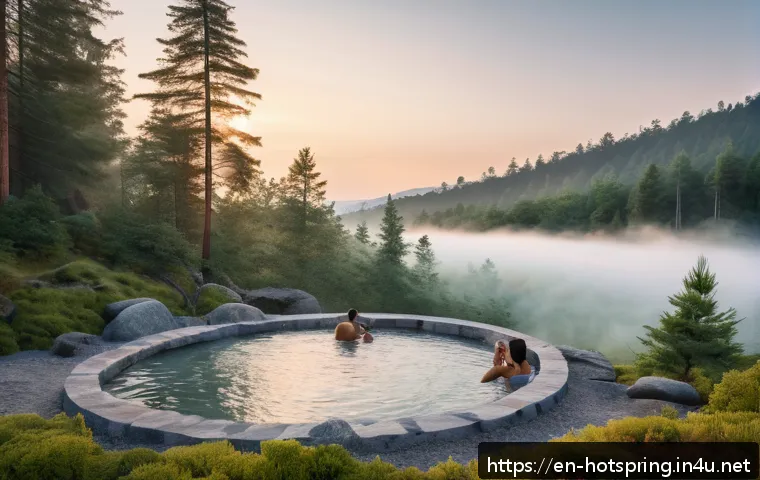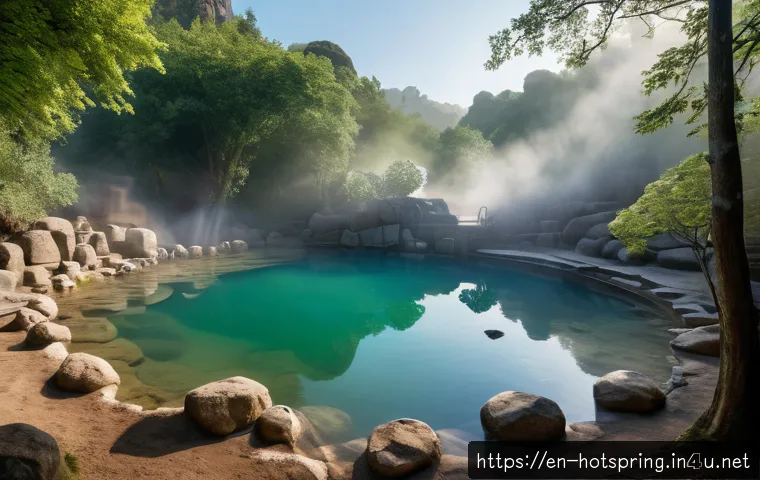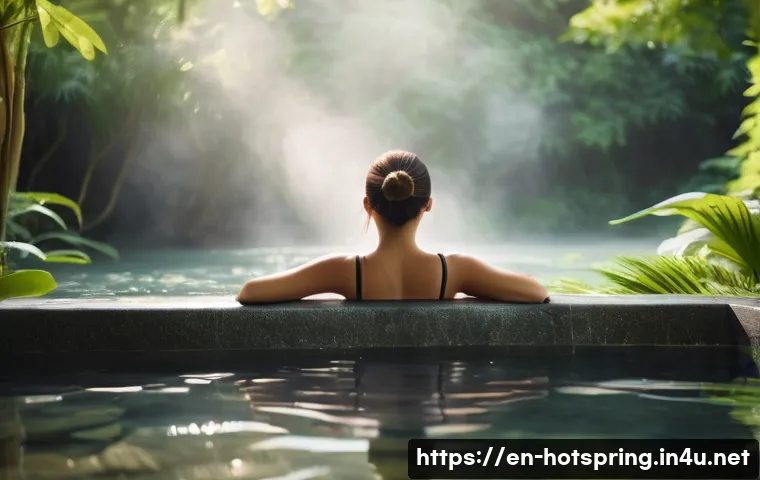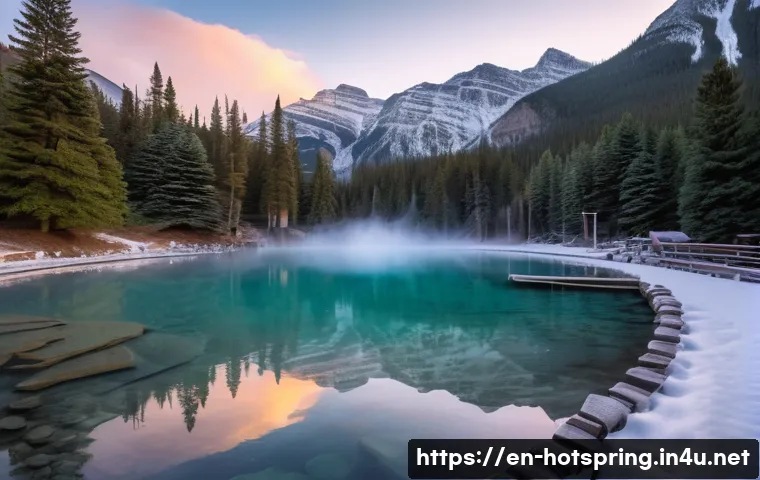
There’s something truly magical about capturing moments in a hot spring getaway—the way steam dances over crystal-clear waters, framed by lush landscapes or snowy peaks.
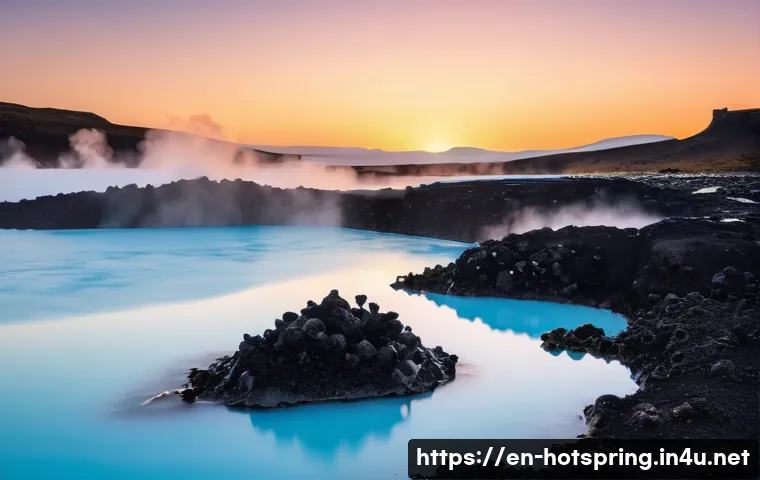
These photos don’t just showcase stunning scenery; they tell stories of relaxation, rejuvenation, and a deep connection with nature. Whether it’s the golden glow of sunset reflecting off the pools or candid smiles of friends soaking in warmth, hot spring travel photography invites you to experience tranquility through the lens.
I’ve found that these images often inspire a craving for escape and self-care like nothing else. Let’s dive into the art of hot spring photography and discover tips that can make your next trip unforgettable.
I’ll guide you through everything you need to know!
Mastering Light and Atmosphere for Captivating Shots
Harnessing Golden Hour Magic
The soft, warm glow of the golden hour—shortly after sunrise or just before sunset—is absolutely perfect for hot spring photography. During this time, the natural light gently illuminates the steam rising from the water, creating an ethereal effect that feels almost otherworldly.
I’ve noticed that capturing photos at this hour brings out rich, warm tones in the landscape, whether it’s the lush greenery or the rocky edges of the pools.
The light is less harsh, reducing shadows and giving faces a flattering glow when photographing people. It’s a great chance to snap candid moments of friends or family soaking in the warmth, their smiles illuminated by that golden shine.
Planning your shoot around these hours can transform an ordinary snapshot into something truly mesmerizing.
Using Mist and Steam Creatively
One of the most enchanting aspects of hot springs is the steam curling above the water’s surface, and learning how to incorporate that into your photos adds depth and mood.
I usually try to shoot with the sun behind me or at an angle so the steam is backlit, making it almost glow and stand out against darker backgrounds. Sometimes, focusing on the mist itself with a shallow depth of field creates an abstract, dreamy vibe that captures the feeling of calm and warmth.
Playing with shutter speeds can also reveal different textures of steam—slower speeds blur the movement, while faster ones freeze delicate wisps. Don’t be afraid to experiment by getting close to the water’s edge or even including a silhouette to contrast with the foggy ambiance.
Balancing Natural and Artificial Light
In some hot springs, especially those open in the evening or surrounded by built environments, artificial lighting comes into play. I’ve found that mixing natural twilight with warm, soft artificial lights—like lanterns or underwater LEDs—can add a cozy, intimate atmosphere.
The key is to avoid overpowering the scene with harsh lights; instead, aim for subtle glows that complement the natural environment. A tripod is essential here since longer exposures help capture the perfect balance without grainy noise.
This blend of lighting can turn a simple pool into a magical retreat, inviting viewers to feel like they’re stepping into a serene sanctuary.
Composing Scenes That Tell a Story
Incorporating People Naturally
Including people in your shots can really bring the scene to life, but it’s important they don’t look posed or staged. I prefer candid moments—someone dipping their toes in the water, laughter shared among friends, or a quiet moment of reflection gazing at the steam.
These genuine interactions create emotional depth and invite viewers to imagine themselves in the setting. When photographing groups, positioning them off-center and using the surrounding landscape as a frame adds context and balance.
Sometimes, capturing just a hand or a foot in the water can evoke a sense of intimacy and connection without overwhelming the frame.
Using Leading Lines and Natural Frames
Natural elements around hot springs—like rocks, wooden walkways, or tree branches—can be fantastic tools for composition. I often look for leading lines that guide the viewer’s eye toward the main subject, whether it’s the pool itself or someone enjoying the water.
Framing shots through overhanging leaves or archways adds layers and a sense of discovery, as if the viewer is peeking into a hidden oasis. These techniques help create dynamic images that feel immersive and balanced, making the scene more engaging and visually appealing.
Showcasing Surrounding Landscapes
Hot springs rarely exist in isolation; they’re part of larger ecosystems that add context and beauty to your photos. Mountains dusted with snow, dense forests, or rocky cliffs provide dramatic backdrops that contrast with the smooth, reflective water.
I like to shoot wide angles to capture this interplay between the tranquil pools and their wild surroundings. Sometimes, including a distant horizon or a colorful sky can elevate the mood, reminding viewers of the vastness and serenity beyond the hot spring itself.
Don’t hesitate to explore different vantage points—higher ground or hidden paths often reveal unique perspectives.
Choosing Gear and Settings for Optimal Results
Lens Selection and Camera Setup
For capturing both wide scenic views and intimate close-ups, I usually bring a versatile zoom lens, like a 24-70mm, plus a fast prime lens for low-light conditions.
The zoom lens lets me quickly adjust framing without moving too much around slippery rocks, which is a real plus in these environments. If you want dreamy bokeh effects on the steam or background, a lens with a wide aperture (f/1.8 or f/2.8) is a game changer.
I also recommend carrying a sturdy tripod for stability during longer exposures, especially in dim or foggy settings. Having a weather-sealed camera body helps protect against moisture and steam, which can be tricky when working so close to hot water.
Ideal Camera Settings for Hot Springs
Since lighting varies so much—from bright daylight to misty mornings and glowing evenings—adjusting your settings on the fly is crucial. I tend to shoot in aperture priority mode to control depth of field, keeping it wide open for portraits and tighter for landscapes.
ISO should stay as low as possible to reduce noise, but I bump it up when light fades. Shutter speed depends on whether I want to freeze steam movement or capture its flow, typically ranging from 1/250s for crisp shots to a few seconds for dreamy blurs.
Bracketing exposures can be helpful too, allowing you to merge images later for balanced highlights and shadows.
Using Filters and Accessories
Polarizing filters are a must-have to reduce reflections on water surfaces and enhance colors, especially when shooting under strong sunlight. Neutral density (ND) filters come in handy for long exposures during daylight, softening steam movement and creating silky water effects.
A remote shutter release or camera app can prevent shake when using slow shutter speeds. I also recommend cleaning your lens regularly—steam and mist can leave droplets that ruin otherwise perfect shots.
Packing microfiber cloths and lens cleaning kits is a small effort that pays off big in image clarity.
Post-Processing Tips to Enhance Your Images
Balancing Contrast and Highlights
In post, I focus on adjusting contrast and highlights to bring out the natural glow of steam and water without losing subtle details. Overdoing contrast can make steam look harsh or unnatural, so I use sliders gently to maintain softness.
Highlight recovery is often necessary to prevent bright areas from blowing out, especially when the sun reflects off the water. Shadows can be lifted slightly to reveal hidden textures in rocks or foliage, enriching the overall depth of the image.
Enhancing Colors Without Overdoing It
Hot spring scenes thrive on natural hues—muted greens, earthy browns, and soft blues—so I’m careful not to oversaturate. Instead, I selectively boost vibrance to enhance colors that feel a bit flat straight out of camera.
A subtle warmth increase can mimic the comforting feel of hot springs, especially in cooler environments. I also play with white balance to either emphasize the warm golden tones of sunset or the cool misty blues of early morning.
Sharpening and Noise Reduction
Since shooting in misty or low-light conditions often requires higher ISO or longer exposures, noise reduction is key to clean images. I apply it carefully to avoid losing fine detail, particularly in textured surfaces like rocks or water ripples.
Sharpening is balanced to enhance edges without creating unnatural halos around steam or foliage. These finishing touches help your photos look polished and professional while retaining their natural charm.
Safety and Etiquette Considerations While Shooting
Respecting Local Rules and Privacy
Hot springs are often cherished natural or cultural sites, so respecting rules is paramount. Many locations prohibit tripods or flash photography, so always check regulations beforehand.
I’ve learned that approaching people for permission before photographing them preserves trust and captures more authentic expressions. Being mindful of other visitors’ privacy and quiet enjoyment helps maintain a positive atmosphere.
Protecting Yourself and Your Gear
Hot spring environments can be slippery, wet, and sometimes hot, so watching your footing is essential. I always wear sturdy, waterproof footwear with good grip and avoid standing too close to boiling water edges.
Carrying weatherproof camera bags and using lens hoods shields gear from moisture and steam. Keeping batteries and memory cards in sealed pockets prevents damage, especially during longer outings.
Minimizing Environmental Impact
Preserving the pristine nature of hot springs means leaving no trace. Avoid stepping on fragile vegetation or disturbing wildlife. Using eco-friendly cleaning products for your gear and disposing of waste properly sets a good example.
I also try to limit my time in delicate areas to reduce crowding and environmental stress, ensuring these beautiful spots remain unspoiled for future visitors and photographers.
Comparing Popular Hot Spring Destinations for Photographers
| Location | Best Time to Shoot | Unique Features | Accessibility | Photography Challenges |
|---|---|---|---|---|
| Banff Upper Hot Springs, Canada | Early morning and late afternoon | Mountain backdrop with snowy peaks | Easy access by car, wheelchair friendly | Cold weather affecting battery life, crowded weekends |
| Blue Lagoon, Iceland | Golden hour and twilight | Milky blue waters with volcanic rock | Well-developed tourist site, shuttle service | High visitor traffic, limited natural vegetation |
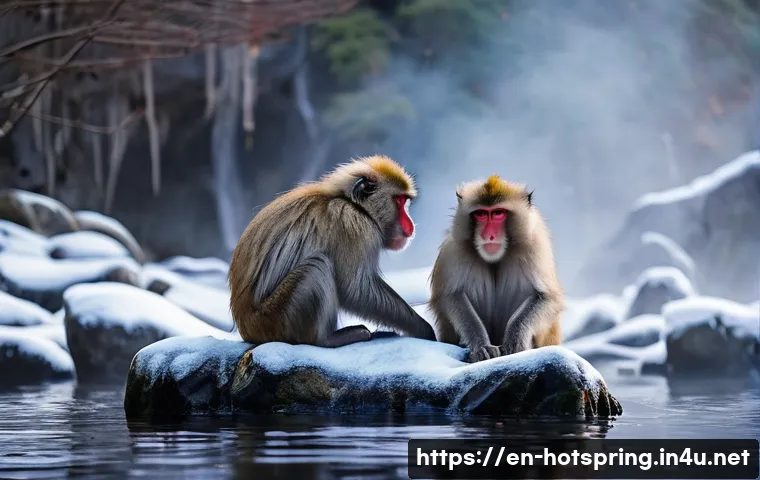
| Jigokudani Monkey Park, Japan | Winter mornings | Wild snow monkeys bathing in hot springs | Moderate hike required | Low light, unpredictable animal movement |
| Terme di Saturnia, Italy | Sunset and nighttime | Natural cascading pools with sulfuric water | Accessible by car, parking available | Steam density can obscure subjects, slippery rocks |
| Rotorua Hot Springs, New Zealand | Early morning and dusk | Geothermal activity with colorful mineral deposits | Urban location, easy public transport | Strong sulfur smell, variable steam levels |
Closing Thoughts
Mastering the interplay of light, atmosphere, and composition can elevate your hot spring photography from simple snapshots to captivating stories. By understanding the unique qualities of each environment and thoughtfully selecting your gear and settings, you create images that truly resonate. Remember, patience and respect for the surroundings will always enhance both your experience and your photos. With these insights, you’re well on your way to capturing mesmerizing moments in these serene natural wonders.
Useful Tips to Keep in Mind
1. Plan your shoots around the golden hour to take advantage of soft, warm light that enhances steam and landscape tones.
2. Experiment with steam and mist by adjusting shutter speeds and angles to add mood and texture to your photos.
3. Use natural frames and leading lines like rocks or tree branches to guide the viewer’s eye and add depth.
4. Carry a versatile lens kit and tripod to adapt quickly to changing light and capture both wide scenes and intimate details.
5. Always respect local rules and environmental guidelines to protect the natural beauty and maintain good relations with other visitors.
Key Takeaways
Understanding how to harness natural and artificial light is crucial for creating atmospheric hot spring images that feel inviting and authentic. Incorporating people naturally adds emotional connection without disrupting the scene’s tranquility. Proper gear selection and camera settings enable you to adapt to diverse conditions, from misty mornings to glowing evenings. Post-processing should enhance without overwhelming, preserving the delicate balance of colors and textures. Lastly, practicing safety and etiquette ensures a respectful, enjoyable experience for everyone while safeguarding these precious environments.
Frequently Asked Questions (FAQ) 📖
Q: What are the best times of day to capture stunning hot spring photos?
A: From my experience, early mornings and late afternoons are the golden hours for hot spring photography. The soft, warm light during sunrise or sunset creates beautiful reflections on the water and adds a magical glow to the steam rising from the pools.
Plus, these times tend to be less crowded, so you can capture more peaceful, intimate moments. If you’re aiming for dramatic shots, the contrast of steam against the cooler, dimmer light just before dusk can be breathtaking.
Q: How can I take photos in hot springs without disturbing other guests or breaking etiquette?
A: Respect and discretion are key when photographing in hot spring areas. I’ve found that using a zoom lens helps you capture candid moments without invading anyone’s privacy.
Avoid using flash or loud shutter sounds, as these can disrupt the tranquil atmosphere. Also, check the rules of the hot spring facility beforehand—some places prohibit photography altogether.
Being patient and waiting for natural, unobtrusive moments is the best way to get authentic shots while keeping everyone comfortable.
Q: What camera settings or gear work best for shooting in steamy hot spring environments?
A: Shooting in steamy conditions can be tricky since moisture can fog up your lens and affect focus. I usually recommend using a camera with weather sealing or a protective cover.
Manual focus can be helpful when the autofocus struggles with steam. A wide aperture (like f/2.8 or f/4) lets in more light and creates a lovely soft background, emphasizing the steam and water reflections.
Also, keep a microfiber cloth handy to gently wipe your lens if it gets foggy. For smartphones, using HDR mode can balance the bright reflections and darker surroundings beautifully.